As an Amazon Associate I earn from qualifying purchases.
Unwashed fabric can shrink and distort after washing
There are a lot of schools of thought on this topic and some controversy. Some people swear it is not necessary and some people always do it.
Which camp do I belong in?
I for one, am a rule follower and I do prewash the fabric I am going to use for sewing garments (not for quilts as I like them to be stiff when I cut and I also like how they shrink up and look crinkly after the quilt is washed)
I am going to explain why prewashing fabric is a necessary step for anyone sewing garments.
1. Stabilize the Fabric:
Prewashing fabric helps stabilize the material before sewing. Fabrics are often subjected to various processes during their production, such as dyeing, printing, and finishing. These processes can cause the fabric to shrink or warp, which can lead to misaligned seams, puckering, or distortion.
By prewashing your fabric, you remove excess dyes, finishes, and chemicals, allowing the fibers to relax and stabilize. I will often wash a stiff fabric and find that it becomes much softer and pliable after prewashing. By washing the fabric first you can see what it will really be like before you cut out a garment. Prewashing also minimizes misshapen garments after sewing.
2. Prevent Shrinkage:

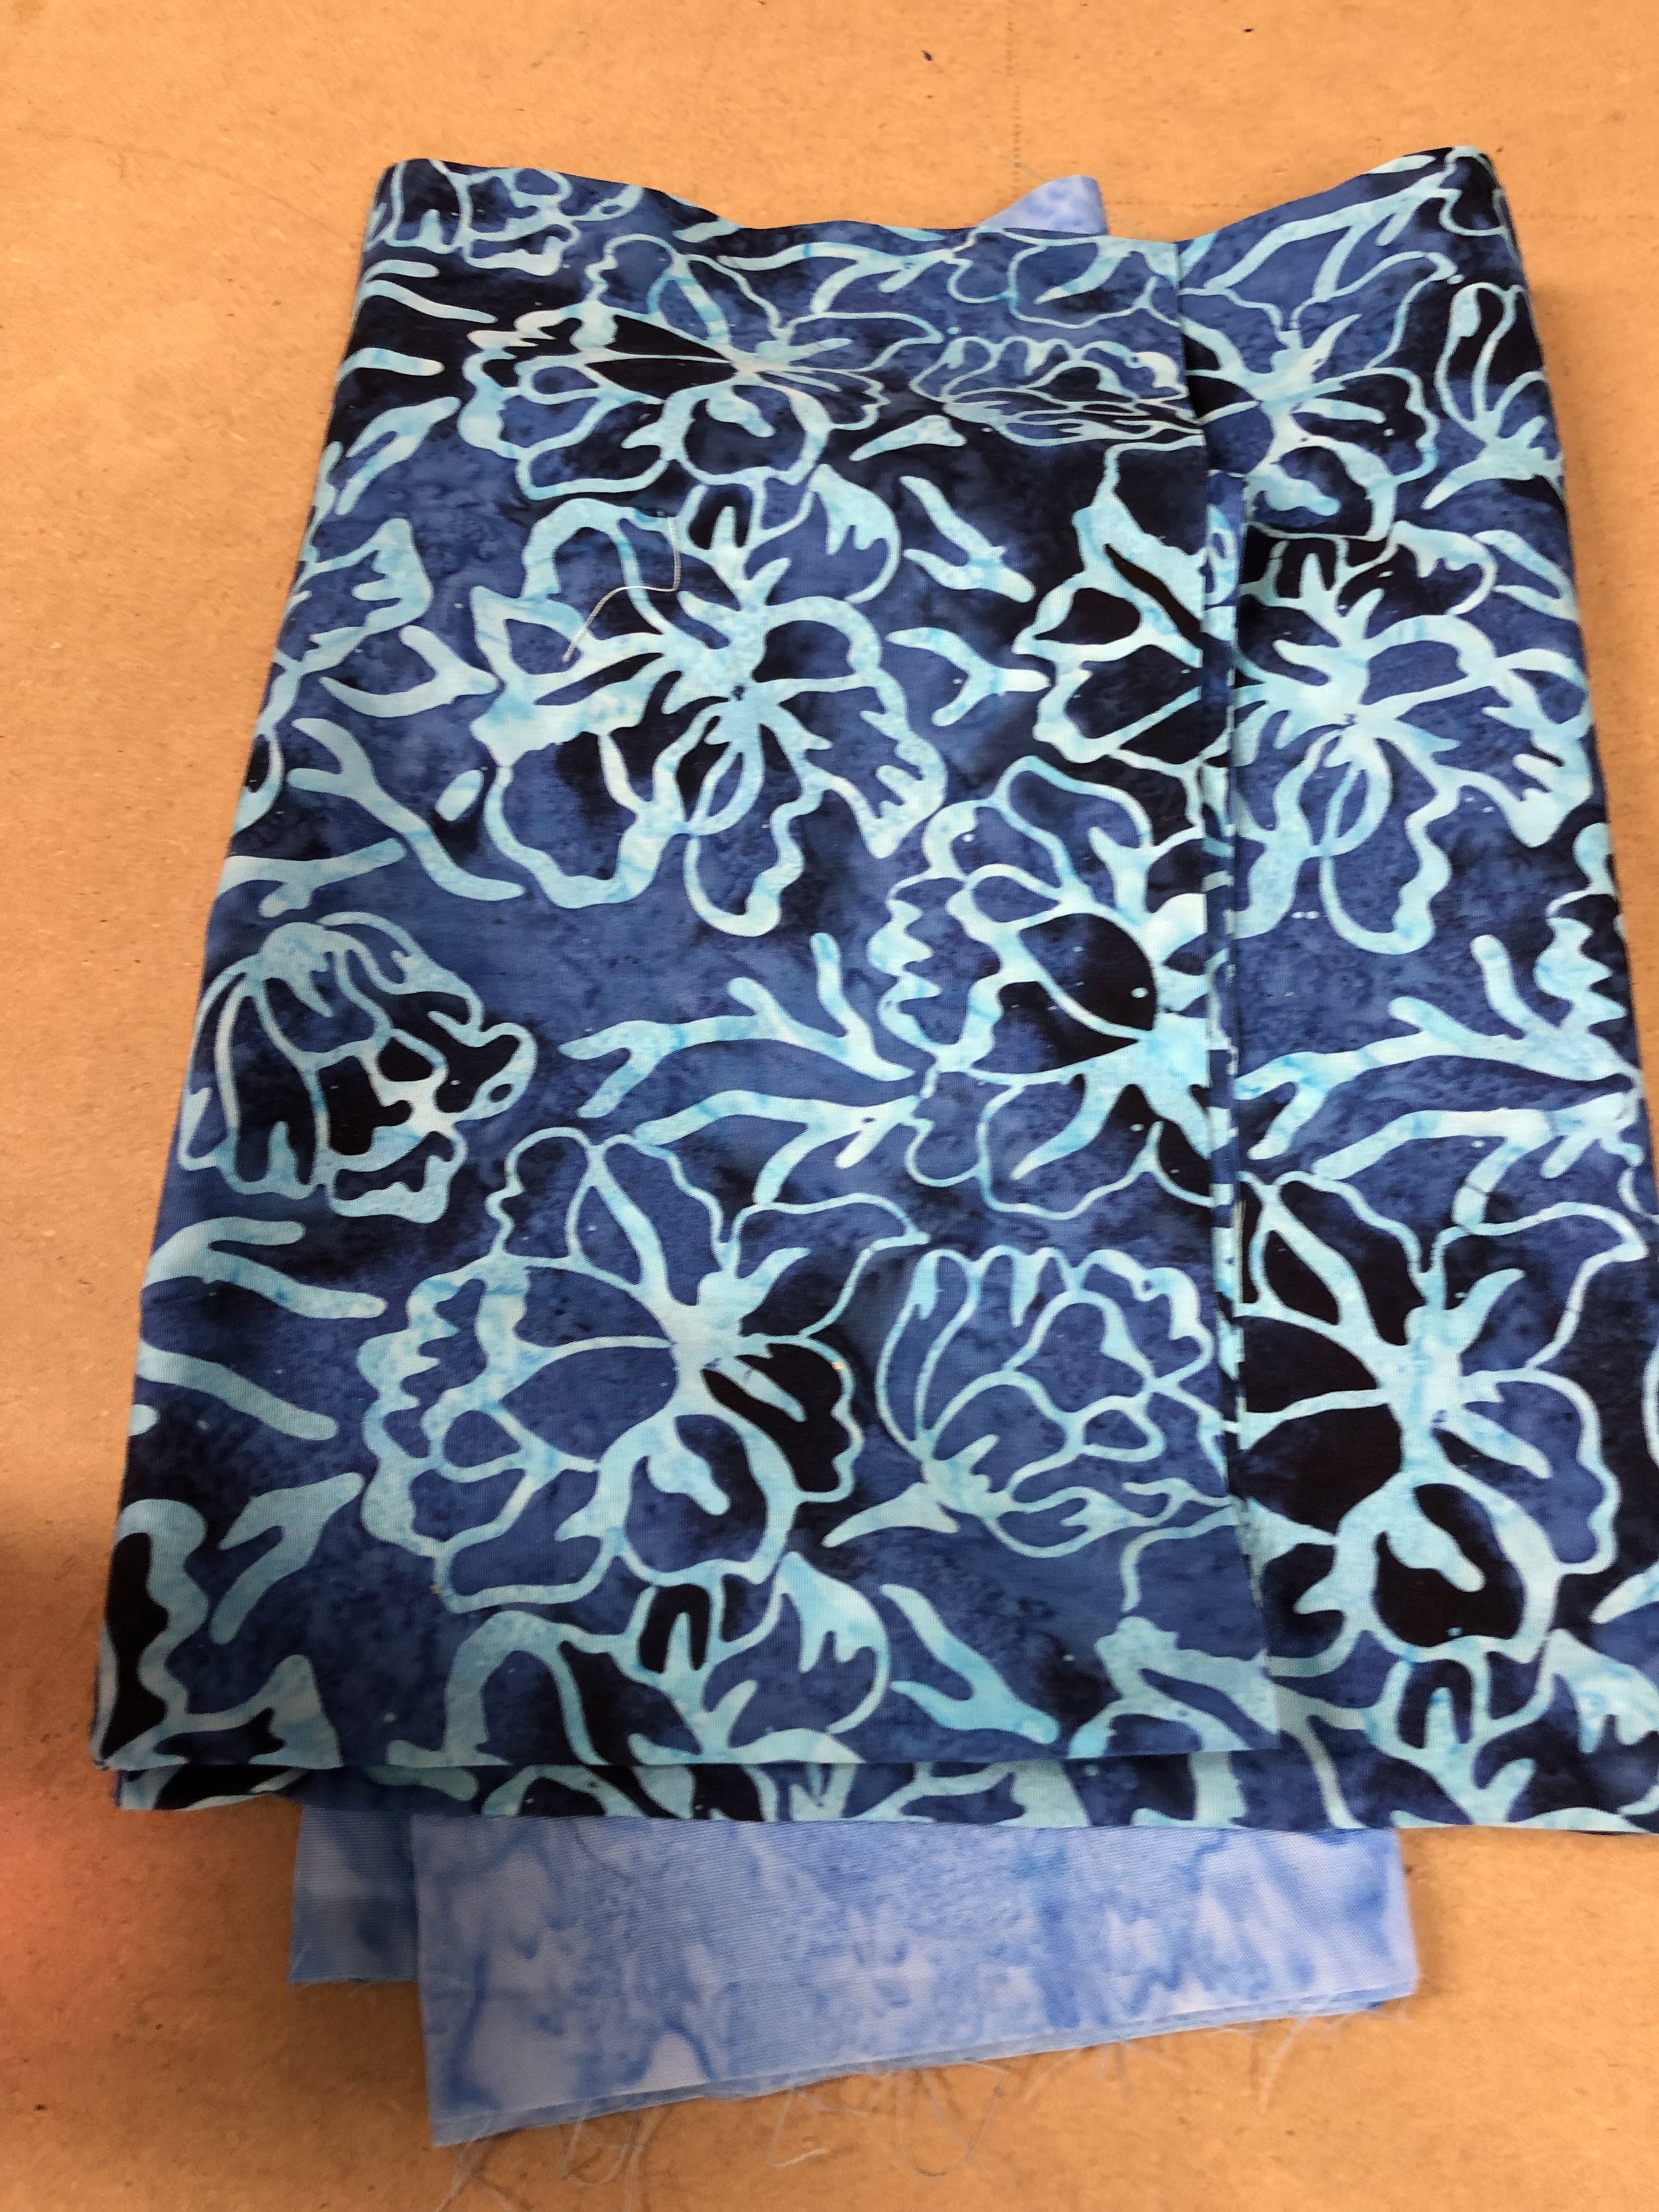
Serged fabric-serging before prewashing prevents raveling
Failure to prewash fabric can result in unexpected shrinkage once the finished garment is laundered. Different types of fabric, such as cotton, linen, and rayon, have varying shrinkage rates. Skipping the prewash step can lead to a garment that shrinks too much after it’s first wash making all your hard work worthless. I never want to take this risk because let’s face it: Making clothes takes time. If I am going to take the time to sew something to wear, I am going to take the time to prewash it
3. Prepare for Care Instructions:
Washing fabrics is an essential part of garment care, and prewashing helps you determine the fabric's specific care requirements. Different types of fabric have varied washing and drying tolerances. By prewashing, you become aware of how your fabric will respond to different laundering methods, enabling you to establish appropriate care instructions for your finished garment. If you buy a fabric that says dry clean only, many people recommend dry cleaning the fabric. I have never done this. I always just make sure I only dry clean the finished garment. If the fabric says Hand Wash only, it is better to hand wash the fabric before cutting. The rule of thumb is to clean it first as you will after you wear it. I generally use my best judgement on this. But honestly, I always wash cottons, linens, and washable fabrics before cutting into garments because I don’t want them to shrink.
4. Testing Fabric Quality:
Prewashing is an opportunity to test the fabric for any potential quality issues or flaws. This step can help identify problems like color bleeding or fabric bleeding, uneven shrinkage, or fabric weakness. It is good to know if a fabric is going to bleed, fade or hold up to washing before you sew it up, so washing it first is always a good test to see if the fabric is a good candidate for your garment. If it does bleed you can eliminate this fabric from quilts or use a product like this: Color Catchers
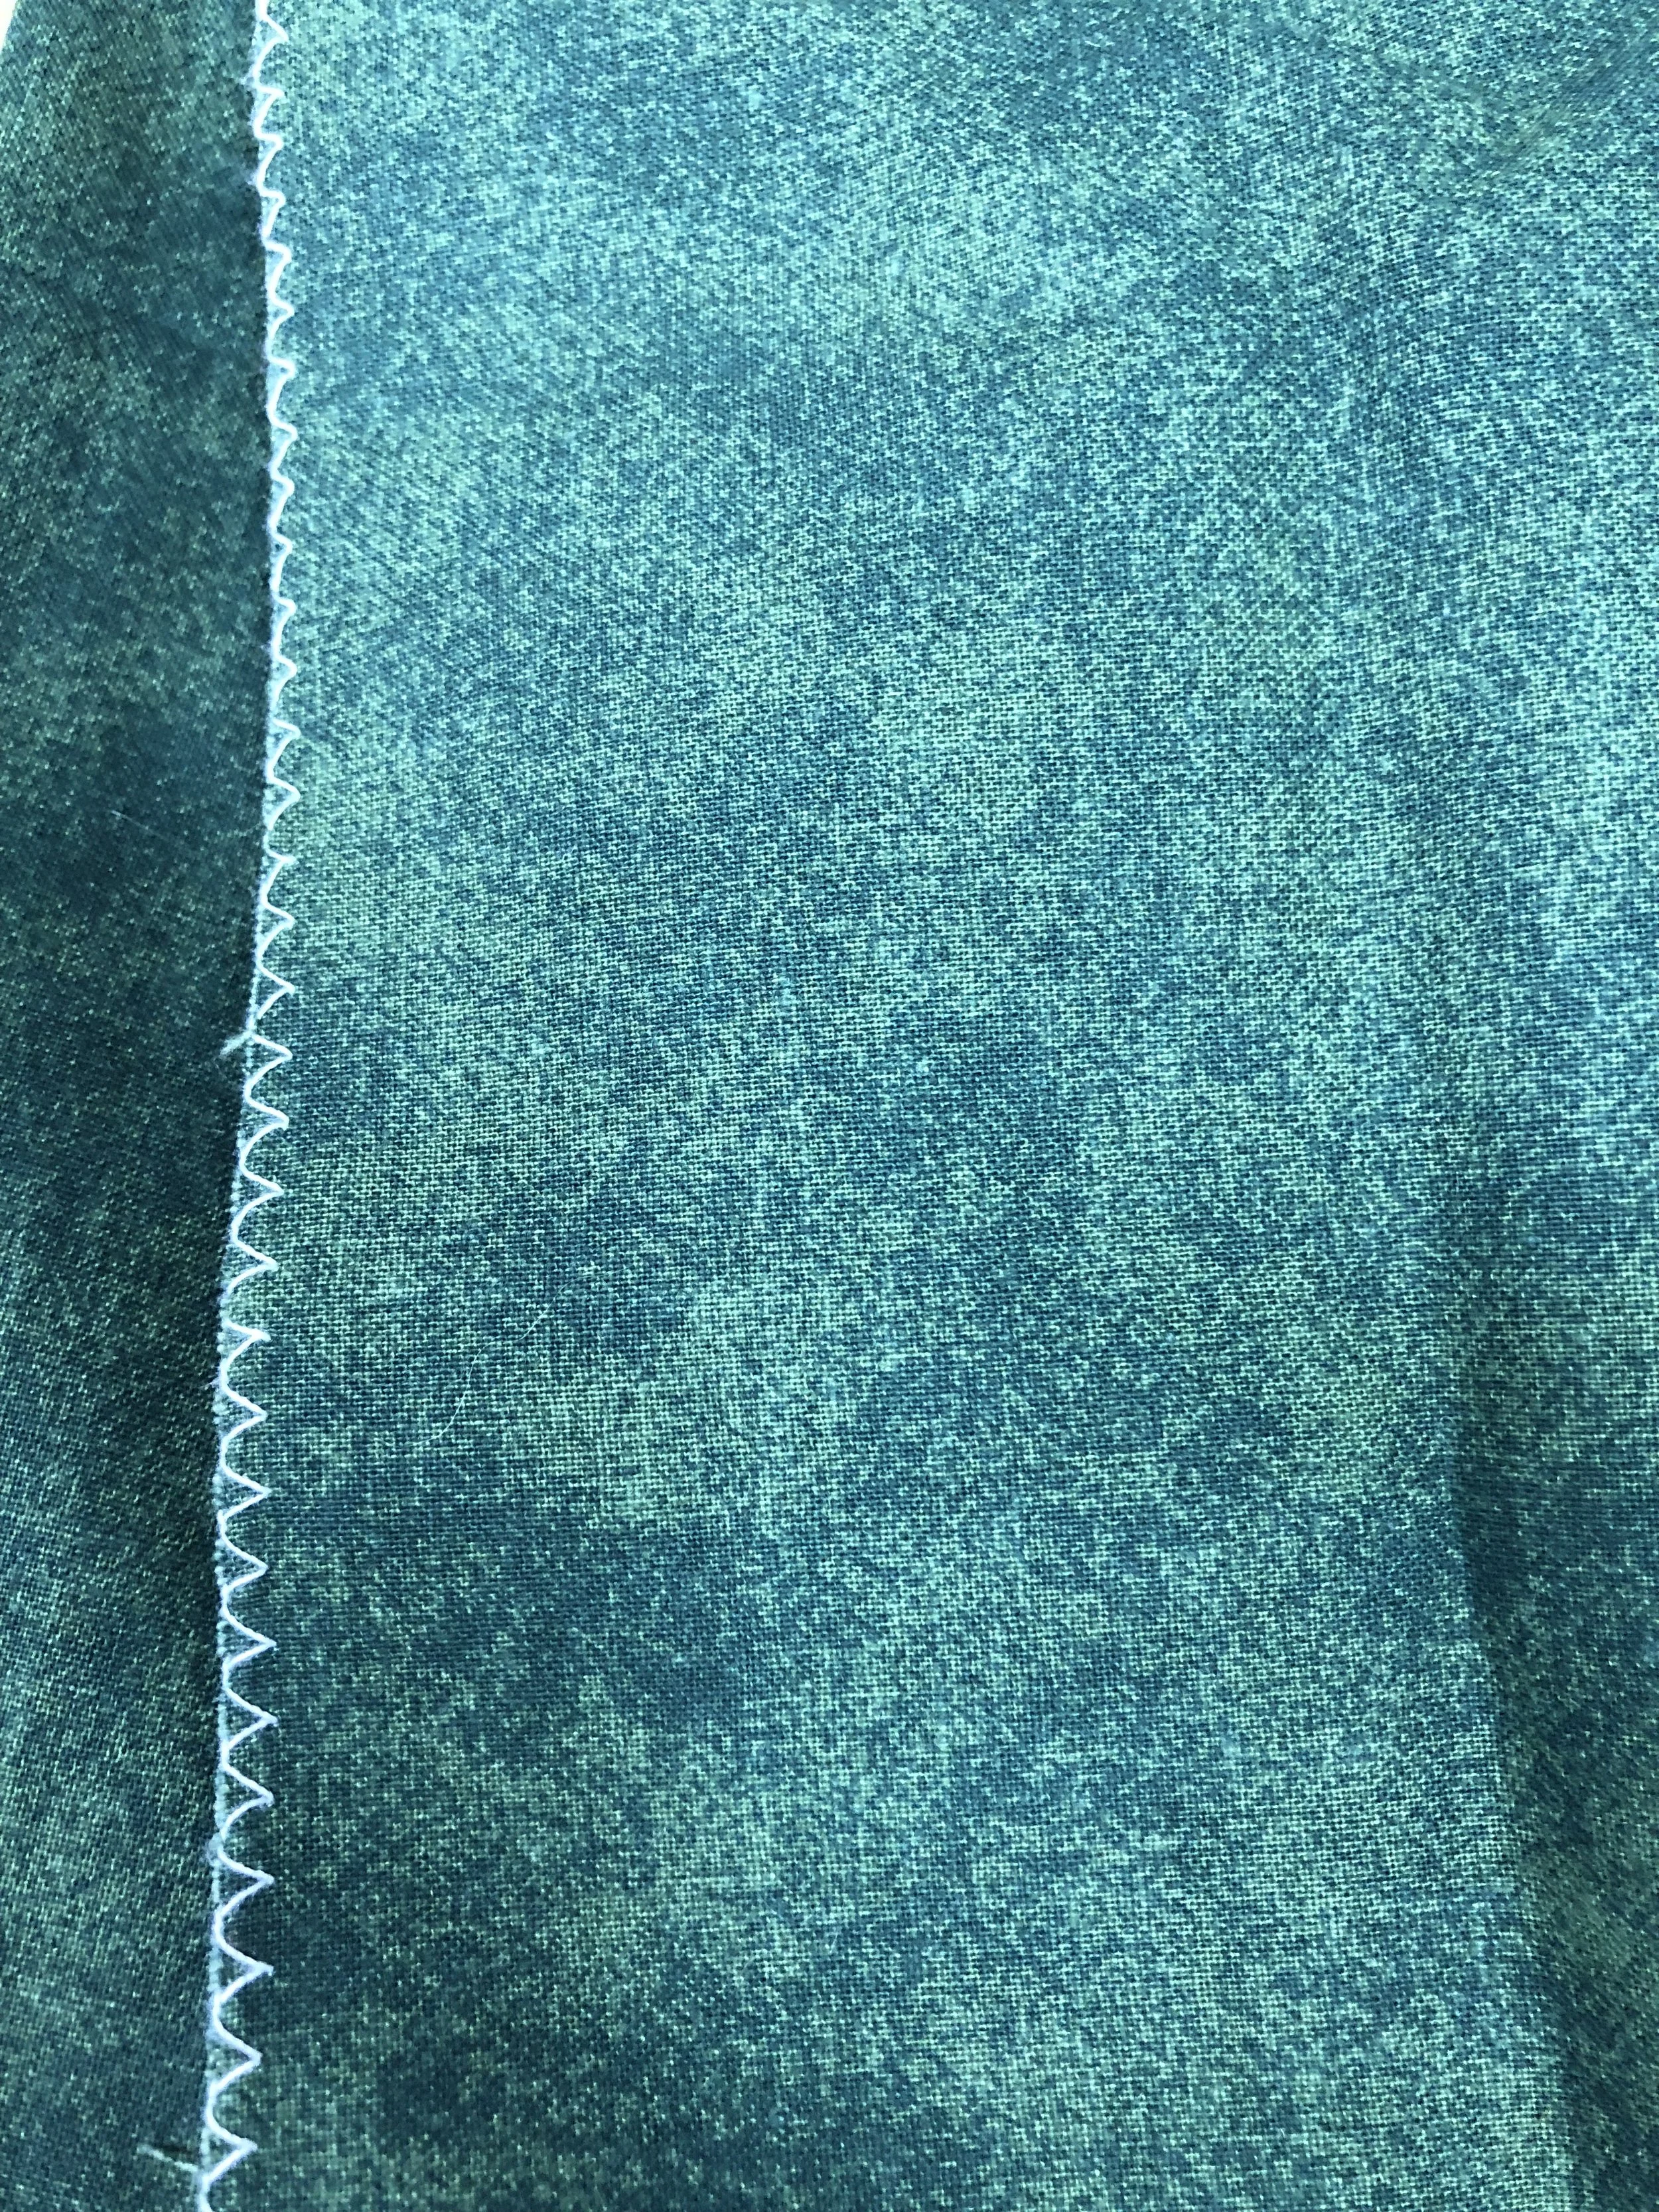
Zig Zag the edges of your fabric if you do not have a serger before washing to prevent raveling in the washing machine and dryer
5. Consistent Fit and Design:
Prewashing fabric ensures that your finished garment retains its original shape and size over time. Cutting and sewing unwashed fabric can result in the final garment shrinking or distorting after laundering, leading to an ill-fitting or misshapen piece.
By prewashing, you can guarantee that the fabric's original dimensions are consistent throughout the sewing process, allowing you to achieve the desired fit and design as intended. No weird pulling, distortion and no shrinking. And after all the work we put into sewing our clothes and handmade quilts, who has time for that?
Happy Prewashing and Sewing,
Andi